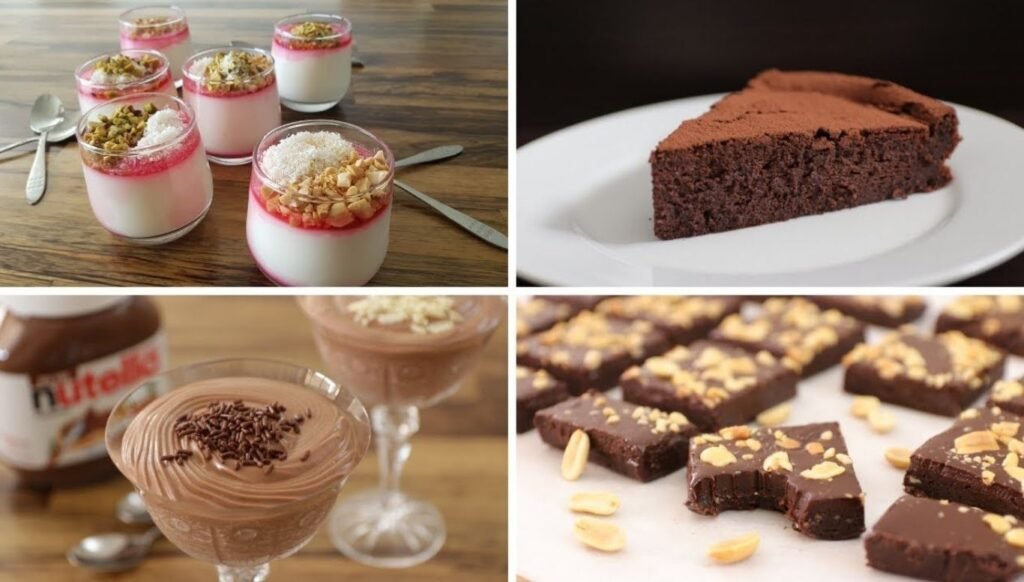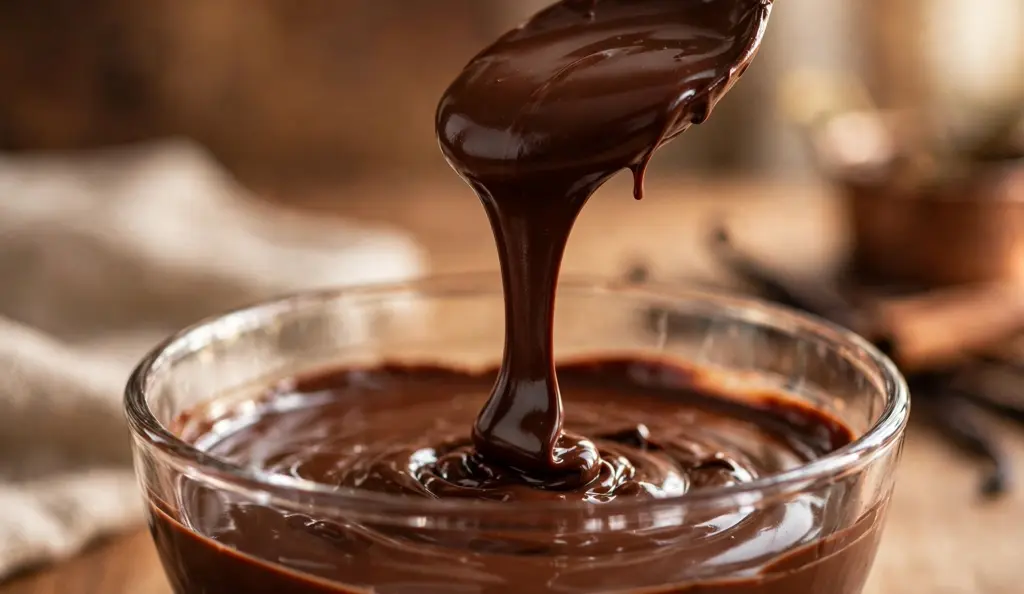
How to melt chocolate the easy way? Chop your bar into small, even pieces and heat it gently, never over direct high heat. The microwave (50% power, 30-second bursts) is fastest. A double boiler is the most controlled. As of October 2026, these two methods still win every kitchen test.
Learning how to melt chocolate well is a kitchen skill that pays off fast. Smooth melted chocolate turns plain cupcakes, fruit, and pretzels into bakery-style treats. This guide covers four proven methods for every kitchen setup. You will get exact temperatures for dark, milk, and white chocolate. You will learn how to rescue seized chocolate. You will see which chocolate melts best. You will learn how melted chocolate differs from tempered chocolate, and whether melted chocolate is gluten-free. Straits Research valued the global chocolate market at USD 147.88 billion in 2025. Its report, updated in August 2026, projects USD 201.55 billion by 2034. As of October 2026, this advice reflects current best practice.
What Is the Easiest Way to Melt Chocolate?
Chop 8 ounces of chocolate into small, even pieces and place them in a dry microwave-safe bowl. Heat at 50% power in 30-second bursts, stirring between each burst. Stop when a few small pieces remain, then stir until the last bits melt. This is the easiest way to melt chocolate at home, and the whole job takes about 90 seconds.
Why Does Chocolate Seize? The Real Science
Seizing is the word for melted chocolate turning stiff, grainy, and lumpy. It happens when water touches melting chocolate. Even one small drop is enough. Anyone learning how to melt chocolate should memorize this rule: keep every tool dry.
Here is why seizing happens. Chocolate is mostly cocoa butter (fat) with tiny bits of cocoa and sugar mixed in. A drop of water dissolves some of the sugar. The wet sugar then glues the dry cocoa bits together into a stiff paste. The result looks dull and clumpy, and stirring harder will not fix it.
Water reaches chocolate in sneaky ways. Steam rising from a double boiler can drip in. A wet spoon or spatula does it too. Even covering the bowl with a lid traps steam, which falls back as drops. Keep every tool bone dry, and you will almost never face seized chocolate.
Heat causes a different problem. Overheated chocolate turns thick and scorched, with a bitter taste. Unlike seized chocolate, scorched chocolate cannot be saved. Stop heating early. You can always melt a little more, but you cannot unburn chocolate.
Which Chocolate Melts Best? Bars Beat Chips
When you learn how to melt chocolate, the type you buy matters more than the method. Chocolate bars and baking wafers melt better than chocolate chips. Chips are made to hold their shape in cookies, so many brands add stabilizers like soy lecithin. These additives fight against smooth melting.
Cocoa butter content matters most. Couverture is a high-quality chocolate with extra cocoa butter, and it melts into a thin, glossy pool. Look for at least 32% cocoa butter on the label for easy dipping. Pro brands like Guittard, Valrhona, and Lindt make bars that melt beautifully, though any decent bar works.
White chocolate is the trickiest type. Real white chocolate contains cocoa butter but no cocoa solids. The FDA requires white chocolate sold in the U.S. to contain at least 20% cocoa butter. Dark chocolate needs at least 35% cocoa, and milk chocolate needs 10% cocoa liquor. These are the standards cited by Straits Research in August 2026. Cheap “white chips” often skip real cocoa butter entirely and melt badly. Buy real white chocolate bars with cocoa butter on the label.
You can melt dark, milk, and white chocolate together. Each type melts at a slightly different speed, so chop them all small and heat gently. Mixing is a handy trick for marbled bark and drizzles.
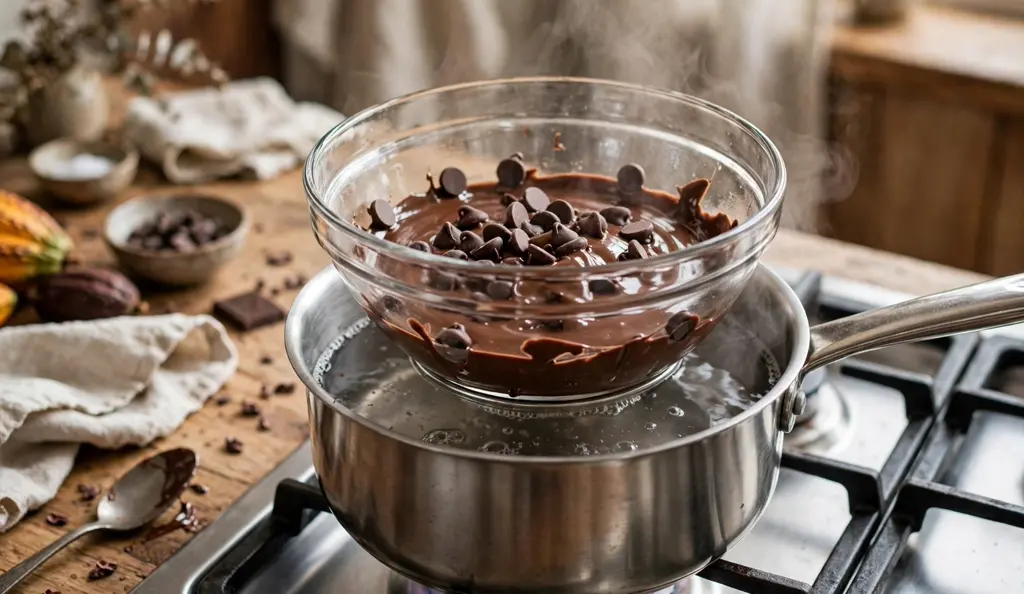
Method 1: The Double Boiler (Most Controlled)
The double boiler is the classic answer to how to melt chocolate, and it suits nervous beginners well. It is a heatproof bowl set over a pot of barely simmering water. The steam heats the bowl gently, so the chocolate never touches direct heat. This method takes a little longer than the microwave, but it gives you the smoothest result.
Picture a home baker in Lahore preparing chocolate-dipped strawberries for guests. She sets up a double boiler so the chocolate stays fluid while she dips batch after batch. No rushing, no burning.
- Fill a saucepan with about one inch of water. The bowl must sit above the water, not in it.
- Chop the chocolate into small, even pieces. Place them in a dry, heatproof bowl.
- Bring the water to a gentle simmer over medium-low heat. Never let it boil hard.
- Set the bowl on top of the pan. Stir the chocolate often with a dry silicone spatula.
- Lift the bowl off the heat when the chocolate is about 98% melted. Stir until the last bits melt from residual heat.
- Wipe the bottom of the bowl dry before you pour, so no water drips into the chocolate.
Alice Medrich’s One-Inch Water Bath Trick
Pastry chef Alice Medrich, famous for her chocolate expertise, swears by a simpler setup. She places a wide skillet with one inch of water on the burner. Then she sets the bowl of chocolate directly in the water. She brings it to a simmer and turns off the heat. Then she walks away while the chocolate melts on its own.
Medrich says steam trapped in a classic double boiler is actually hotter than the water itself. Her method gives you gentler, more visible heat. You can watch the water, hear the simmer, and stop the heat at the perfect moment.
Keeping steam out of your bowl
Choose a bowl that fits snugly over the pan so steam cannot climb up the sides. Dry the bowl, the spatula, and your hands before you start. Never cover the melting bowl with a lid. Condensation forms on the lid and drips straight into the chocolate. That is the fastest way to seize it.
Method 2: The Microwave (Fastest)
The microwave is many people’s first answer to how to melt chocolate, and it takes about 90 seconds. It demands attention, though. Chocolate can scorch in seconds because microwaves heat unevenly.
- Chop the chocolate into even pieces. Spread them in a dry, microwave-safe bowl, preferably glass.
- Set the microwave to 50% power. Full power is too hot and scorches the edges.
- Heat for 30 seconds, then stir well with a dry spatula. The chocolate will still look mostly solid at first.
- Repeat in 30-second bursts (15 seconds for white chocolate), stirring between each one.
- Stop when a few small pieces remain. Stir until they melt from the leftover heat.
- Let the chocolate rest for five minutes before using it for dipping, so it thickens slightly.
Can you melt chocolate in the microwave without burning it?
Yes, if you lower the power and stir often. Use 50% power in 30-second bursts and stir between every burst. Stirring spreads the heat evenly and stops hot spots from forming. Stop early, when small pieces remain, and let the leftover heat finish the job. This one habit prevents almost every microwave burn.
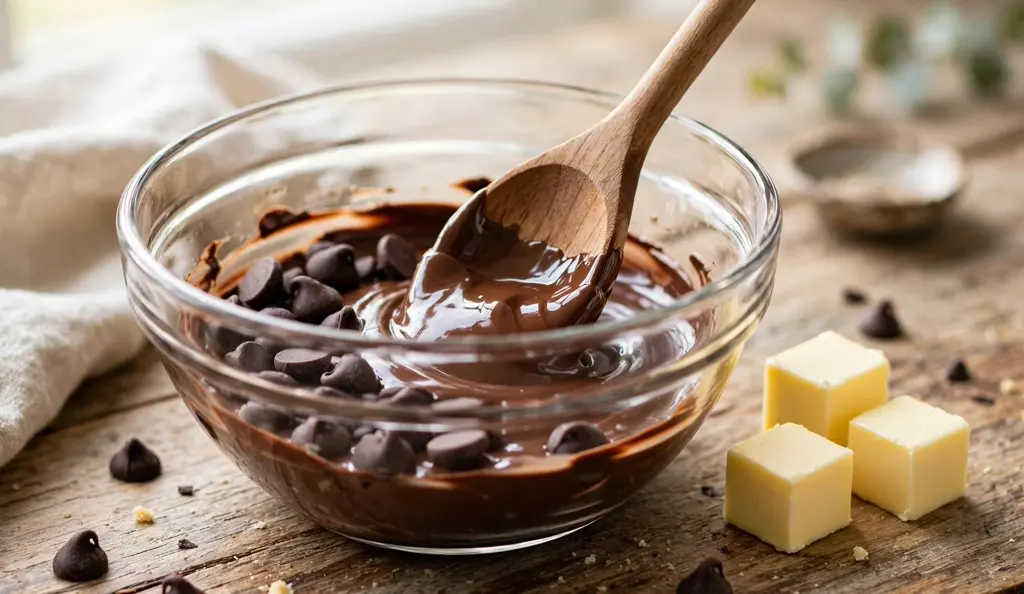
Method 3: The Slow Cooker (Best for Big Batches)
For party hosts wondering how to melt chocolate in bulk, the slow cooker is the answer. It heats gently and can hold chocolate warm for hours. Keep the lid off and stir now and then.
- Make sure the slow cooker insert is completely dry. Any moisture risks seizing.
- Chop the chocolate into even pieces and add it to the insert.
- Set the cooker to high, cover, and let it heat for one hour. Stir every 15 minutes.
- Switch to the warm setting. Stir every 15 minutes until the chocolate is mostly melted.
- Turn the cooker off and stir until smooth. Leave it on warm (lid off) while you dip.
This method is slow, so it suits big jobs only. For one bowl of chocolate, the microwave or double boiler is far faster.
Method 4: The Low Oven (The Forgotten Method)
The oven is the forgotten answer to how to melt chocolate, and it deserves more love. A low oven gives gentle, all-around heat with zero steam risk. Use it when your stovetop is busy.
- Heat the oven to 200°F (about 95°C). Low heat is essential.
- Spread chopped chocolate in a dry, oven-safe dish in a thin layer.
- Place the dish in the oven for 8 to 10 minutes. Stir at the halfway mark.
- Remove the dish when the chocolate is mostly melted. Stir until smooth.
- Do not bake it longer. Chocolate held in the oven too long will scorch just like on the stove.
Melted Chocolate Temperature Guide: Every Type
Every chocolate type melts at its own temperature, and knowing the numbers removes the guesswork. The table below follows the guide published by Tasting Table in August 2025. It still matches professional advice as of October 2026.
| Chocolate type | Starts to melt at | Melt to (max) | Burns above |
|---|---|---|---|
| Dark chocolate | 113°F (45°C) | 114 to 118°F | 120°F |
| Milk chocolate | 104°F (40°C) | 105 to 113°F | 113°F |
| White chocolate | 99°F (37°C) | 100 to 110°F | 113°F |
Notice that white chocolate starts melting near human body temperature. That is why it softens in your hands so fast. Milk and white chocolate scorch at lower temperatures than dark. They need shorter microwave bursts and closer watching.
A digital kitchen thermometer removes all doubt. Clip it to the bowl and stop heating when you reach the target range for your type. If you melt chocolate often, a thermometer is the best small investment you can make.
Seized It? The Teaspoon Rescue Method
This section covers the trick most melting guides skip: how to bring seized chocolate back to life. If your chocolate turned into a dull, stiff lump, do not throw it away yet. Seized chocolate can still be saved for many uses.
Add one teaspoon of very hot (not boiling) water to the seized chocolate and stir hard. The mass will look worse at first. Keep adding hot water, one teaspoon at a time, whisking hard between each addition. After 2 to 4 teaspoons, the chocolate usually relaxes back into a glossy, fluid sauce.
Why does this work? A little water caused the problem, so more hot water finishes the job. Enough water dissolves the sugar fully, which breaks the glue holding the cocoa bits together. You are turning seized chocolate into a chocolate sauce, not restoring it to perfect dipping chocolate.
Know when to stop. Rescued chocolate works perfectly for hot cocoa, chocolate sauce, brownies, and frosting. But it will not set up shiny and snappy for candy coating. If the chocolate smells burnt or tastes bitter, it scorched, and no rescue will fix it. Use burnt chocolate only in recipes where strong flavors hide it, or discard it.
Smart prevention beats every rescue. Keep tools dry, stop heating early, and wipe condensation off the bowl. These three habits make seized chocolate rare.
Do You Need to Temper Chocolate After Melting?
Melting and tempering are not the same thing. Melting just turns chocolate liquid. Tempering is a controlled heating and cooling process. It lines up the cocoa butter crystals so the chocolate sets up shiny, with a firm snap.
For most home baking, tempering is unnecessary. Brownies, mousse, ganache, and cake filling all taste perfect with plain melted chocolate. You only need tempering when chocolate must set firm and glossy at room temperature. Think dipped truffles, chocolate bars, or candy shells.
If you search how to melt chocolate for candy coating, you may actually need tempering. If your recipe simply says “melt the chocolate,” do exactly that and move on. Mixing up the two is a common beginner mistake, and now you know the difference.
How to Store and Reheat Melted Chocolate
Melted chocolate thickens as it cools, which is normal. Keep it at room temperature and stir before use. Once you know how to melt chocolate, reheating leftovers is easy. Use the microwave at 50% power in 15-second bursts.
To store leftovers, let the chocolate cool completely, then seal it in an airtight container. It keeps at cool room temperature for up to two weeks. Refrigerate it only if your kitchen is hot. Bring it back to room temperature before reheating, so moisture does not condense on it.
Never reheat chocolate over high heat to “speed things up.” Fast reheating scorches the edges. The center stays solid. Low and slow works every single time.
Five Easy Ways to Use Melted Chocolate
Learning how to melt chocolate opens up dozens of desserts. Drizzle it over these gluten free cupcakes for a bakery finish. Swirl it through our gluten free banana loaf batter for a marbled slice. Dip strawberries and pretzels, then chill them on parchment. Pour it over warm gluten free cinnamon rolls instead of icing. Or fold it into one of these gluten free dessert recipes with exact ratios.
Is Melted Chocolate Gluten-Free?
Plain chocolate is naturally gluten-free, since it is made from cocoa, cocoa butter, and sugar. But melted chocolate is only as safe as the bar you start with. Some brands make their chocolate on shared lines with cookies or wafers. This creates a real cross-contact risk.
Read the label every time, because recipes and factories change. Look for “gluten-free” on the package, or a certification mark from the Gluten-Free Certification Organization (GFCO). Certified chocolate is tested to stay under 20 parts per million of gluten. That is the FDA’s legal limit for gluten-free claims. Our guide to gluten free foods and snacks explains which pantry staples are truly safe.
Chocolate chips deserve extra caution. Some chips contain barley malt as a flavoring, and flavored or filled bars can hide wheat. If you have celiac disease, check with your doctor or a registered dietitian. Ask them which chocolate brands are safest for you.
How to Melt Chocolate: FAQs
How do you melt chocolate without a double boiler?
Use the microwave. Chop the chocolate and place it in a dry microwave-safe bowl. Heat at 50% power in 30-second bursts with stirring between each. The low oven method also works well.
Can you melt chocolate with milk instead of butter?
Yes, but warm the milk first. Pour hot milk over chopped chocolate and stir to make ganache. Cold milk added to hot chocolate can shock it and cause graininess.
Why did my chocolate turn thick and lumpy?
It seized from water or scorched from heat. A drop of water turns melted chocolate grainy, while too much heat makes it thick and bitter. Use the teaspoon rescue for seized chocolate.
Can you remelt chocolate that hardened?
Yes. Reheat it gently at 50% microwave power in 15-second bursts, stirring between each. Chocolate can be melted and cooled several times without harm.
How do you melt chocolate chips so they stay smooth?
Stir in one teaspoon of coconut oil or vegetable shortening per cup of chips. Chips contain stabilizers that resist melting, so a little fat helps them flow smoothly.
Can you melt chocolate in the microwave?
Yes. It is the fastest method. Use 50% power and 30-second bursts. Stir between each burst, and stop early so the leftover heat finishes the melting.
How long does it take to melt chocolate?
About 90 seconds in the microwave. A double boiler takes 5 to 8 minutes, and a low oven takes 10 minutes. A slow cooker takes one to two hours but handles big batches.
Should you melt chocolate over direct heat?
No. Direct heat scorches chocolate fast and gives it a bitter taste. Always use indirect heat from a double boiler, a microwave at reduced power, or a low oven.
How do you melt white chocolate without burning it?
Use the gentlest method and the lowest heat. A double boiler on low works best, or the microwave at 50% power in 15-second bursts. Stop at 110°F.
Can you add oil to melted chocolate?
Yes. A teaspoon of coconut oil, vegetable oil, or shortening per cup of chocolate makes it thinner and shinier. Add it while the chocolate melts and stir it in well.
How do you melt chocolate for dipping strawberries?
Melt it with the double boiler method for the most control. Let it cool for five minutes. Dip each dry strawberry, and set it on parchment paper to firm up.
How do you thin melted chocolate for drizzling?
Stir in melted cocoa butter or coconut oil, one teaspoon at a time. Stop when it flows off the spoon in a thin ribbon. Avoid water-based liquids, which cause seizing.
Does melted chocolate need to be tempered?
Not for most recipes. Brownies, mousse, and ganache need only melted chocolate. Tempering matters only when chocolate must set shiny and firm at room temperature.
Conclusion
How to melt chocolate comes down to three rules. Chop it small, heat it gently, and keep water far away. The microwave wins on speed, the double boiler wins on control, and the slow cooker wins for crowds. You now know how to melt chocolate four different ways. Learn your type’s temperature and stop heating early, because rescued chocolate never beats unburnt chocolate. Chocolate is naturally gluten-free, so read the label and melt with confidence. Now grab a bar, pick your method, and make something worth sharing. Smooth chocolate is a small skill with delicious rewards.
For more background, see the article on chocolate.